
Table of Contents
Headlight restoration is an important procedure for maintaining the safety and presentable appearance of your vehicle. Worn and dull headlights significantly reduce visibility at night and can affect the overall impression of your vehicle. Following basic rules and using proven methods will help restore your headlights to their original clarity and ensure maximum illumination of the road.
Proper headlight restoration involves a series of consistent steps and adherence to expert recommendations. In this article, we’ll cover the basic rules and tips for headlight restoration that will help you restore your headlights to their functionality and appearance without unnecessary expense or complications.
Rules for High-Quality Headlight Restoration: A Step-by-Step Guide
Before restoring your car’s headlights, it’s important to assess their condition. Damage, scratches, yellowing, or clouding of the glass require different approaches. It’s essential to prepare all the necessary materials and tools to ensure a high-quality and safe repair process.
High-quality headlight restoration requires following certain rules and consistent steps. Below is a step-by-step guide to help you achieve excellent results and extend the life of your vehicle’s headlights.
Step-by-Step Guide to Headlight Restoration
- Surface CleaningThoroughly wash the headlights with soap and water, removing any dirt, dust, and grease. This will ensure better adhesion of the materials during subsequent repair steps.
- Removing the Old CoatingUse fine-grit sandpaper or a special sanding disc to carefully remove damaged or darkened film. Do this evenly to avoid damaging the glass or reflector.
- Degreasing the surfaceTreat the headlight with isopropyl alcohol or another degreasing agent to remove any remaining dust and oils, allowing the adhesive or restoration film to better adhere to the surface.
- Restoration or coatingDepending on the damage, apply a special restoration paste, polish, or UV-curing protective film. Follow the manufacturer’s instructions for drying time and application.
- Final TreatmentAfter complete drying, it is recommended to apply a protective clear coat or varnish to improve the resistance of the restored headlights to external influences and UV radiation.
Properly following these steps will restore clarity, improve the appearance and lighting performance of your headlights, and significantly extend their life.
Headlight Condition Assessment Before Repair
Before restoring your headlights, it is important to thoroughly assess their current condition. This will help determine the extent of the damage and determine the optimal repair approach. During the inspection, pay attention to external defects such as cracks, chips, or misaligned housing elements.
In addition to a visual inspection, it is recommended to conduct a functional diagnostic of the headlights. This includes checking the operation of the bulbs, the condition of the reflectors, the integrity of the wiring, and the presence of fogging inside the housing. This approach helps identify hidden damage that could negatively impact the quality of subsequent repairs.
Headlight Condition Assessment Tips
- Housing Inspection: Look for cracks, scratches, deformations, and seal damage.
- Lighting Operation Check: Ensure all bulbs are in good working order and the light output is bright and uniform.
- Internal Condition Analysis: If fogging or condensation is present inside the housing, determine the cause.
- Reflector and Lens Assessment: Ensure there is no dullness, abrasion, or surface damage.
Choosing the Right Materials and Tools for Lighting Restoration
Before starting work, we recommend familiarizing yourself with the types of materials suitable for restoration and choosing the most suitable ones depending on the extent of damage and the type of headlight. It is also important to ensure that you have the necessary tools, such as grinding wheels, polishing machines, and specialized cleaning and sealing products.
Recommended Materials and Tools
- Restoration and Polishing Creams – restore the transparency and shine of plastic components.
- Crack Repair Aerosols and Adhesives – eliminate minor defects and strengthen the structure.
- Plasticine and Sealants – seal cracks and holes.
- Abrasives – of various grit sizes for pre-treatment of surfaces.
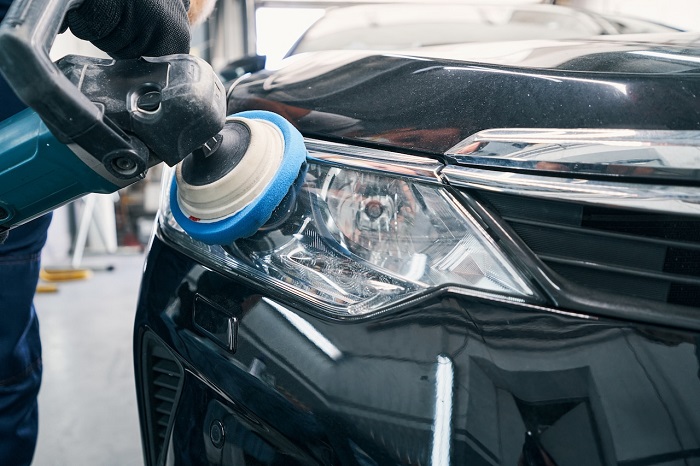
- Polishing and grinding machines – ensure uniform surface restoration.
- Protective products – varnish for protection against UV radiation and aggressive factors.
Choosing the right materials and tools directly impacts the quality and durability of your car’s headlight restoration. Use only proven and compatible products, maintain the condition of your tools, and follow the manufacturer’s recommendations. This approach will ensure the safety and aesthetic appearance of your headlights, as well as maintain their functionality for a long time.